Showing posts with label cooking. Show all posts

April 4, 2013

Grain free, Gluten free, Dairy free - Peanut Butter Cookie Dough Balls!


I love finding a new recipe to try and this one was just too tempting when I saw it posted by someone on Instagram. They looked so easy I had to give it them go right away.
I did have a little 'play' with the original grain & egg free recipe to make it gluten and dairy free as well (and it's also ridiculously low in nasty sugars).... Enjoy!

Ingredients:
1x 400g tin of chick peas (drained & rinsed)
2/3 Cup peanut butter
2 tsp vanilla
1/4 Cup Rice Malt Syrup
1 tsp gluten free baking powder
1 Tbs Coconut flour
Pinch of salt
1/2 cup choc chips (I used left over dairy & gluten free Sweet William choc bunnies from Easter that I cut up but you can use their choc chips).

Method:
Blitz everything, except choc chips, in food processor to combine (if it's too 'wet' add a tiny touch more coconut flour if it's too dry add a tiny touch of water). Once it's all incorporated stir in choc chips by hand. Scoop out a spoonful of the mixture and roll into balls in your hands (I got 17 balls). Place balls on a baking paper lined biscuit tray. Bake in oven for 10-12mins.

Eat warm and gooey straight from the oven or let them cool - up to you - but I bet you will enjoy then for sure!!


Giggles

August 10, 2012

Happy Friday Find!

I love to bake. I love to give away baking gifts. I wish I could bake and decorate even HALF as fabulously as Glorious Treats - I have admired her work for so long and think her attention to detail is simply amazing!!

Maybe, just maybe if I was to follow THIS great step by step tutorial I could make some of these adorable Baby Bunting Cookies?? what do you reckon??

Happy Friday
Giggles

June 20, 2012

Campfire Cones!!

I have been meaning to share these yummies with you since I posted about our family bonfire a few weeks ago... so I am finally taking the time while my kiddies are snoozing.
These Campfire Cones are a sweet, warm, delicious, indulgent, fun and tasty treat that the kids will LOVE to help you make - I promise!
Ingredients:
Waffle cones (don't try the regular ice cream cones - they don't work. Trust me)
Mini marshmallows
Choice chips (milk, dark and white)
Chopped nuts of your choice (we had slithered almonds & walnuts)
You can add whatever you like really. I have seen chopped up banana or strawberries added which would be yummy too.

You'll also need:
Aluminium foil
Camp fire, (or BBQ, or open fire place)
Here is the fun part... grab your waffle cone and fill it to the absolute brim with your fillings of choice - be sure to mix them up so you have some chic chips next to marshmallows next to nuts, next to chic chips etc. Once the cone can't take anything else wrap the whole thing in aluminium foil making sure it's sealed up. now pop the whole thing onto the hot coals of your camp fire/bon fire/BBQ/fire place. After a few minutes remove the foiled cone (be careful because it will be HOT). Un wrap the cone little by little and enjoy the gooie, sticky, sweet, yummy warm 'mess'!!!!
I tried to take pics of ours as we made them but being in the dark and supervising little kids around the fire made that a little tricky so I have searched the web for other pics of these campfire cone treats to share with you.

How good do they look? will you give them a go? Be warned, you're kids will be begging you to make them every night - my little guy does!

Giggles

October 7, 2011

Happy Friday Find

Just a little sweet sugar hit on the Friday afternoon for you all - Bunting Sugar Cookies from Bubble and Sweet!


These are so cute and with Bubble and Sweet's simple instructions HERE are rather simple to put together too... and if you change the flags to whatever colour scheme you next party is they'll match perfectly!
Happy Friday xx
Giggles

June 8, 2011

Weet-Bix Cake!

Seriously, this is The. Easiest. Cake. Ever!
With just 5 ingredients to mix together and no eggs needed it's the perfect cake to make with your kids and a great one for when the fridge and cupboards are looking a little bare.


You'll Need:
1 mug of Weet-Bix
1 mug of sultanas
1 mug of brown sugar
1 mug of self raising flour
1 mug of milk.

Pre-heat oven to 160 degrees.
Combine all ingredients well in a large bowl. Transfer mixture to a well greased loaf pan and put in pre-heated oven for 45 mins or until a skewer poked in the middle comes out clean. Let cake cool a little in the pan the transfer to a wire cooling rack. Slice and enjoy!


Image found HERE


See, I told you it was easy.
My kiddies, hubby and I love this cake - It's also a yummy treat with a touch of butter with that 3:30pm cup of tea I know I can't go without *wink, wink*
Giggles

May 12, 2011

Sugar Cookie Bunting - DIY


This morning I was in a baking mood - I wanted to get out my Mix Master and create something for no reason at all. The easiest thing and best one for the kids to help me with are good old sugar cookie dough that can then be rolled out & our stash of cookie cutters could be used on.

We made up the following cookie mixture (simple & this recipe has never failed me)
1 cup of butter
1 cup sugar
2 eggs
1 Tbsp. Vanilla Extract
3 cups plain flour
1/2 tsp. baking soda
1/2 tsp. salt
Cream butter until pale yellow. Add sugar & beat until light and fluffy. Beat in eggs and vanilla. In separate bowl combine flour, baking soda & salt. Beat into butter mixture. Chill dough for 2 hours. Roll out 1/8" thick on well floured board. Cut shapes with cookie cutters and place on un-greased cookie sheet. Bake in pre-heated moderate oven for 5-8 mins or until edges are golden brown.


When we got to the shape cutting part I divided the mixture in half and gave half to the kids to use the cookie cutters on, then decided to have a play with the other half myself. I rolled it out into a long rectangular shape and with a knife straightened all the edges. I then (using no measurements or template as you can tell) cut out 'flags'.


With a drinking straw I made holes in the two top corners of each flag.


I carefully placed them on a baking tray, trying not to warp the shapes too much and baked them until they were ready for cooling.


Once they had completely cooled down I made up some royal icing. Using three different food colours I tinted the icing and began to decorate my 'flags' - NOTE: In no way am I a professional baker or cookie decorator so please excuse these rather messy looking cookies :P


I then let the cookies sit so the icing could set (I probably should have left them a little longer than I did). Once the icing is set take a long length of ribbon and feed it through the holes at the top of the flags.
TIP: I had to use a skewer to make the holes a little bigger as they shrunk in the cooking process.. Once all you flags are on your ribbon you are ready to hang your bunting!!


These would be rather cute as a gift or hung above a dessert table don't you think???


Oh and these are the super cute cookies my babies made :)


Happy baking
Giggles

December 14, 2010

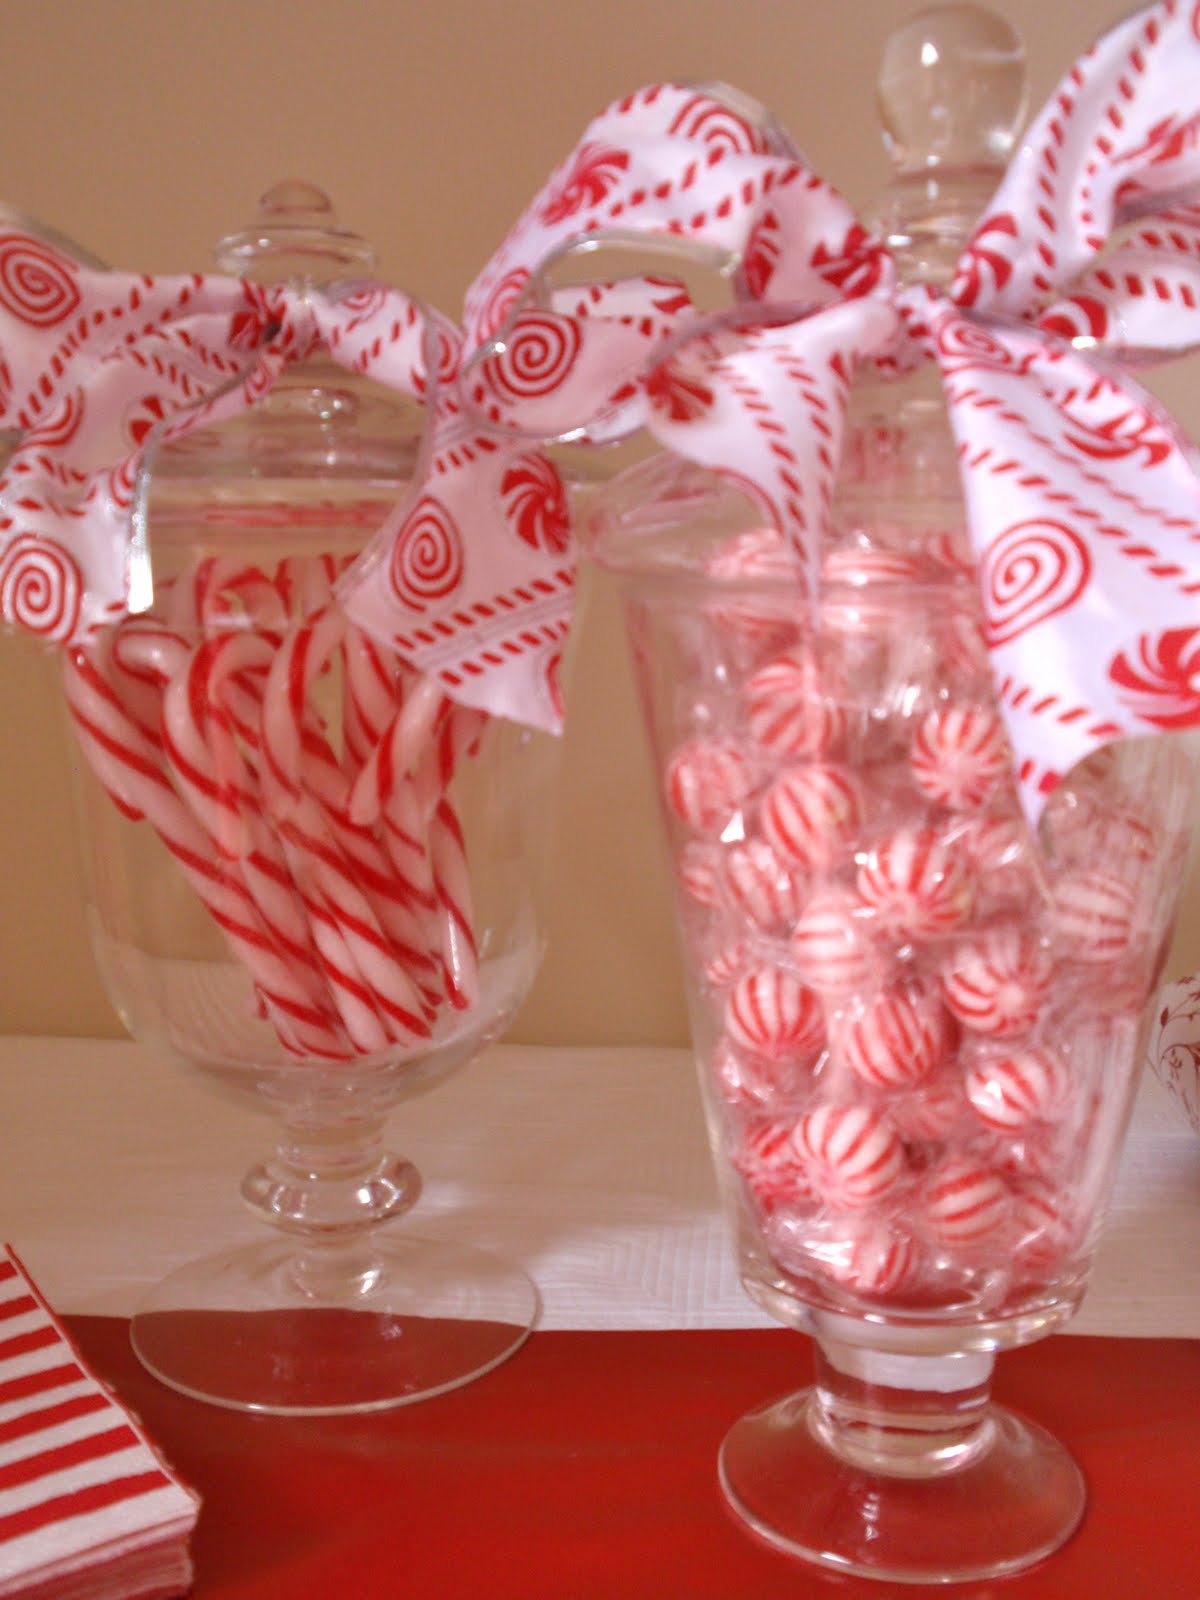
Candy Cane Christmas

Last weekend was a busy but fun weekend. With Mathilda's Market on the Sunday my wonderful mum offered to head to Sydney for the weekend and help out on the stall so we decided to move Christmas with my family forward and do it on the Saturday to take advantage of mum and dad being in town.
As you can imagine I was rather busy already with sewing up stock for the market so didn't think too much about the Christmas get together and we all actually agreed to do an afternoon tea thing rather than a full meal so at the last minute I decided to pull a Candy Cane themed afternoon tea table together!
With a few taps on the keyboard to order a handful of goodies and the help of a printer for the printables I'm pretty pleased with how it came out!


Included in the menu for afternoon tea were:


Reindeer cookies


Cupcakes


Pretzels, nuts, green and red Skittles & M&M's, cheese and crackers & dip, and a few chocolate gold coins.


Harry's Candy Cane Rocky Road - YUM!!!!


Candy Canes and boiled lollies


Then with little juice pop top drinks for the kids wrapped in these fun and totally customizable printables made up by the very clever & lovely Chickabug (seriously, how cute is the 'nutritional facts' panel!!)


add is a few red and white bon bons, a wooden tree (that I had bought 2 days earlier for my market stall display) with some baubles and a little order of red and white goodies such as the cupcake wrappers, napkins, paper cups & table runner from The Party Studio the table was all tied together!!

April 24, 2010

Happy Birthday to me!

It's my birthday on Monday - Yay! I am lucky enough to have been born the day after Anzac Day so with this year having Anzac Day fall on a Sunday I am spoilt with a national public holiday for my birthday - Yay again!
Now when it comes to birthdays in my house I am the one who makes the cakes (I LOVE this job) so it is up to me if I am wanting a cake for my birthday, which of course, I do!
I decided to make cupcakes for 2 reasons... 1. I won't have a huge cake that will end up on my hips!! and 2. I have been wanting to try out the recipe for marshmallow frosting that a girlfriend gave me for a while now and it looks just so very sweet on cupcakes. So with the help from my two baking assistants, Milla & Harrison we have made a small batch of cupcakes made up this morning then as soon as they went down for a snooze I got to have a little frosting fun!


Here is the recipe for this very sweet and shiny icing that is light, fluffy & tastes just like marshmallows!!
(PLEASE NOTE: this recipe is not 'child helper' friendly)

You'll Need:
* 3 egg whites
* 480g white sugar (the original recipe suggests CSR castor sugar)
* 3 tsp light corn syrup (this stuff is a bit tricky to find - I found it eventually at IGA in the ice cream toppings section)
* 1/4 tsp cream of tartar
* 150ml water
* 3/4 teaspoon vanilla extract
* Food colouring of your choice

Method:
In a metal bowl combine egg whites, sugar, corn syrup, cream of tartar & water. Place the bowl over a saucepan of simmering water - (making sure the bottom of the bowl doesn't touch the water). Beat continuously with hand held electric mixer until the mixture is light and fluffy and forms soft peaks. Take the bowl off the heat and add the vanilla and a few drops of food colouring. Whisk the mixture until it forms soft peaks.
Using a piping bag frost your cupcakes in a circular motion starting from the outer edge of the cakes and working your way toward the middle - making it look like a Mr Whippy ice cream.


Between these yummy cupcakes and a public holiday long weekend with my gorgeous family my birthday is shaping up to be a fabulous one! I just have to wait until my wonderful mother in law is home from her trip to NYC, at the end of May, for my gift... Hubby has given her a shopping list for the Apple store on Fifth Ave for an iPad!! Yay, Yay, Yay!!!!!
Giggle

April 4, 2010

Hippity, Hoppity, Happy Easter

Wishing you all a wonderful, chocolate filled Easter!

Did the Easter bunny hop past your place this morning? Did he leave any goodies behind? There was a small bundle of mini chocolate eggs hiding throughout our home that we had to go hunting for - LOTS of fun!
Once the excitement of the Easter eggs settled down a bit we got ourselves organised and headed off to brunch at my sister-in-law's with our Hot Cross Cupcakes in hand.


These were a BIG hit and seemed to get gobbled up pretty fast... it was fun watching people eat them as they found the mini chocolate Easter egg that is hiding inside - YUM!


Thanks to The Cupcake Wrapper Co for the gorgeous Spring Bunny wrappers that made the Hot Cross cupcakes look even more fabulous!
Giggle

March 29, 2010

Hot cross buns, cupcakes and chocolate eggs - all rolled into one!


YUM! When I found this recipe I knew straight away Miss 2 and I would be making these for Easter brunch at my sister-in-laws place on Easter Sunday.
I wish I could remember where I found it originally (sorry) but I do remember it was marked as 'kid friendly' and 'easy' recipe so why not get your kiddies helping and make these for an Easter treat.

Cupcakes:
125g butter, at room temperature
¾ cup icing sugar, sieved
3 eggs, at room temperature
2 tsp vanilla extract
1 2/3 cups self-raising flour, sieved
1/3 cup full-cream milk
12 small solid chocolate eggs

1. Preheat oven to 180°C (160° fan-forced). Line tin with cases.
2. With electric beaters on high speed, beat butter and sugar until pale and fluffy. Add eggs 1 at a time, beating well to incorporate before adding next egg. Add vanilla with last egg. Mix in flour and milk until just combined.
3. Evenly divide mixture between cases. Push chocolate egg into centre of each so it is covered with cake mixture, but not touching bottom of case. Bake for 20 to 25 mins or until cakes have risen and are cooked through. Remove from oven and allow to cool completely.


Icing:
2/3 cup firmly packed brown sugar
¾ cup sweetened condensed milk
1½ tbsp golden syrup
50g butter, extra
½ tsp vanilla extract, extra
75g white chocolate

1. Combine sugar, condensed milk, syrup, extra butter and vanilla in saucepan over medium heat. Cook for 5 mins or until sugar has dissolved. Stir regularly. Remove from heat, allow to thicken and cool slightly before spreading over cakes.
2. When icing is cool, melt chocolate in bowl in microwave for 1 to 2 mins on medium heat. Stir every 30 secs with metal spoon. Transfer to piping bag and pipe white cross on top of cakes.


I plan to finish off the Easter look by popping these into some yellow Spring Bunny cupcake wrappers from The Cupcake Wrapper Co - cute hey?!


Happy Easter!


Giggle

December 9, 2009

Christmas Cookies In A Jar!

This is a fun and yummy Christmas gift that is the perfect answer to those gifts for teachers, neighbors, mothers group friends, babysitters... they are even just a great thing to have in your own cupboard to pull out and keep the kids entertained in the school holidays!
I originally saw the idea on Bakerella and loved it so much I bookmarked it months ago with the plan to use red and green M&M's and make them for Christmas but you could use any colour combination of M&M's or Smarties and use them for all kids of occasions like blue or pink for baby shower gifts, rainbow colours for party favors, orange black and white for Halloween, green for St Patrick's day... the possibilities are endless!

You will need:
Glass jar (the jar in the photo is from Spotlight)
Small off cuts or scraps of Christmas themed fabric
Ribbon or twine
Cardboard tags


Then in each glass jar place:
1 1/3 cup all purpose flour,
1 teaspoon baking powder
1 teaspoon baking soda
1 cup cooking oats
3/4 cup m&ms (you can buy the Christmas packs to get just red & green)
3/4 cup chocolate chips
1/2 cup brown sugar, packed
1/2 cup white sugar

Layer the ingredients in like this:
1st: flour, baking powder, baking soda
2nd: oats
3rd: M&M's
4th: chocolate chips
5th: brown sugar
6th: white sugar

If the jar doesn't completely fill place a layer of baking paper on top then stuff the rest of the jar with scrunched baking paper to keep all the ingredients packed in firm. Seal the jar with it's lid, place a piece of Christmas fabric over the top and tie a ribbon or similar around it. Next attach your small cardboard instruction tags with the following:

Add
1 slightly beaten egg
1/2 cup butter (melted slightly in the microwave)
1 teaspoon vanilla
Mix wet ingredients into dry ingredients. Roll the cookie dough into small balls, place on biscuit baking tray and bake for about 10 minutes in a preheated 350 degree oven.


So easy - Have fun!


Giggle